Before you calibrate
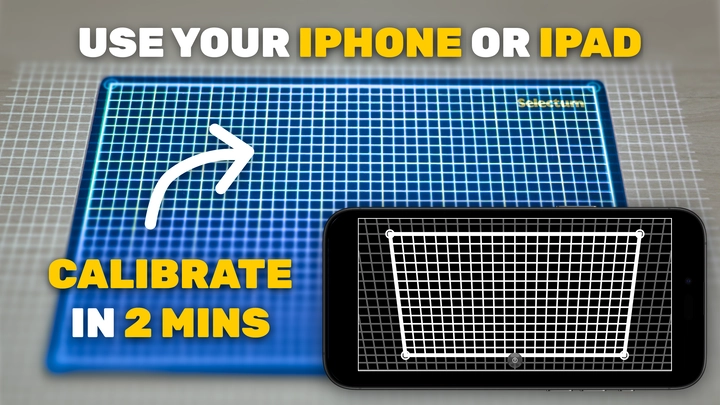
Place the mat inside the projection area outlined by the IntelliSew app. Adjust the projector’s height and position so the mat is centered and the image covers the area you plan to use.
Choose your calibration method
Choose a tutorial below for the complete step-by-step instructions.
Common calibration problems
If the projected grid does not line up as expected, start with these checks.
The corners match, but the grid lines bow
Check that your cutting mat and the surface beneath it are flat. An uneven table or mat can cause the lines to bow. Flatten the working surface, then recalibrate and check the grid again. Small amounts of bowing is acceptable and won't affect cutting accuracy.
Watch this part (3:43)The grid is not accurate near the edges of the projection area
Calibrate using the largest rectangular reference that fits inside the projection area. Using a small cutting mat or sheet of paper can cause inaccuracies near the edges of the projection. If your cutting mat is small, consider calibrating with a larger sheet of gridded interfacing paper.
Watch this part (3:59)My cutting mat is larger than my projected area
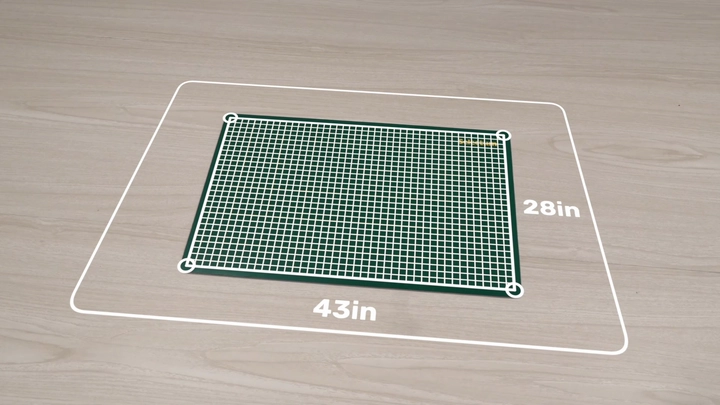
Use the largest rectangle on the mat that fits completely inside the projection. Align the calibration points with the corners of that rectangle, and enter its width and height.
Watch this part (4:28)AI calibration fails or gives a badly misaligned preview
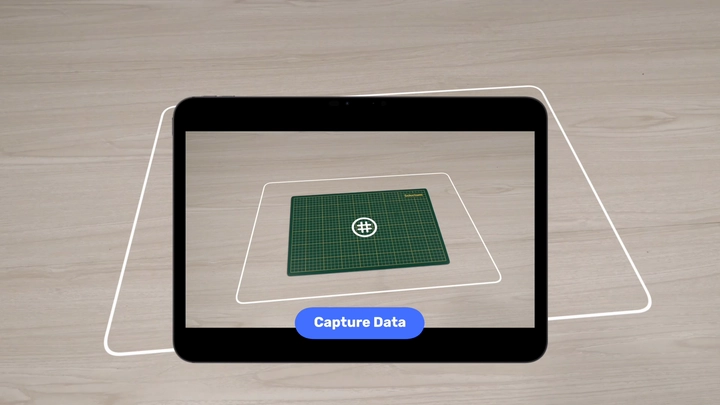
AI calibration is currently in beta and may not work reliably with every setup. Check that you selected the correct mat spacing and that the entire mat is visible in the camera frame. Hold your device steady during capture and try again. If detection still fails or the preview looks wrong, use four-corner calibration instead.