Step 1
Choose your HDMI stick
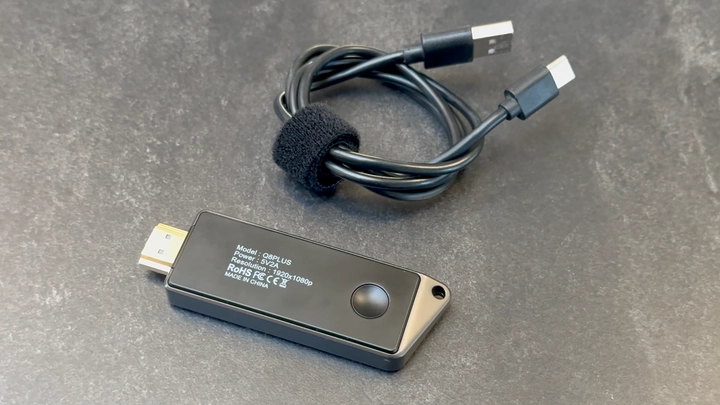
We’re using the Renkchip wireless HDMI stick (Amazon) shown in the video. In our testing, this has been the most reliable and easiest one to set up, so we recommend using this one if possible.
If you get a different stick, these instructions may not apply to you, and your experience might be a little different.
Step 2
Connect the HDMI stick to the projector
Plug the wireless HDMI stick directly into your projector’s HDMI input.
Step 3
Power the HDMI stick
Use a USB-A to USB-C cable to connect the stick to power.
For the Epson projector shown in the video, this port is just above the HDMI input.
Turn on the projector. The icons on the stick should light up, and you should see its setup screen on your cutting surface.
Step 4
Ensure HDMI stick is in iOS mode
If the text in the top left of the setup screen says Android mode, tap the button on the stick to switch it to iOS mode.
Step 5
Connect your iPhone or iPad
Once you’re in iOS mode, grab your iPhone or iPad. Swipe down from the top right to open Control Center. Tap Screen Mirroring, then select the option that starts with “Renkchip” to connect.
Step 6
Confirm the connection in IntelliSew
In the IntelliSew app, the projector icon should turn green. On your cutting surface, you should see an outline marking the projection area and a “Projector Connected” message.
Continue learning
Keep going with the next part of your setup or explore a related guide.