Step 1
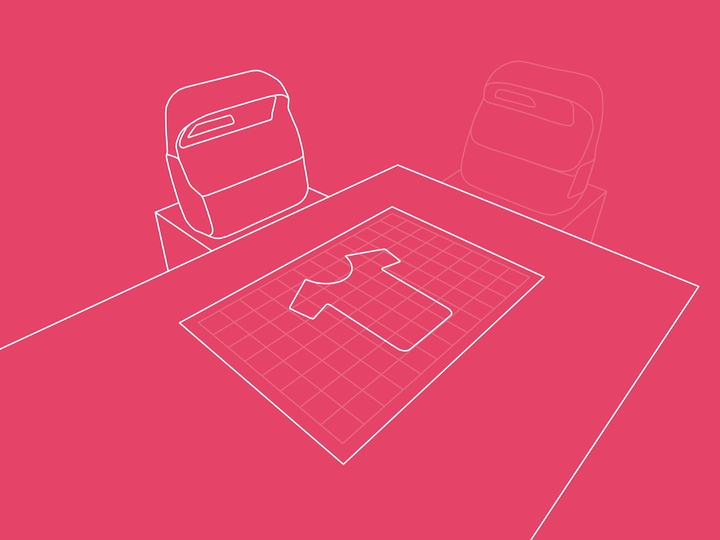
Place the projector along the long side of your cutting mat
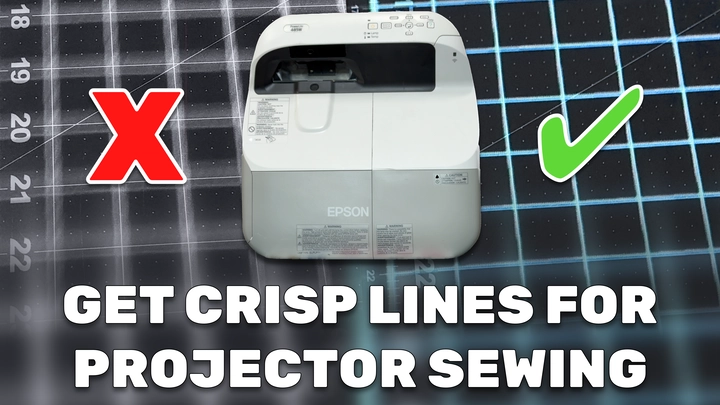
Place the projector along the long side of your cutting mat so its image matches the shape of your cutting area. Think of the image as a fixed number of tiny dots. Placing the projector along the short side wastes dots off the edges of your mat. Along the long side, more dots land on your cutting area, making the pattern lines crisp.
Step 2
Adjust the projector height
Turn on the projector and adjust its height until the image just covers your cutting area. Raising the projector makes the image larger; lowering it makes the image smaller. A book below the projector is usually enough to get the right height.
Step 3
Reset the projector settings
Reset the projector’s settings to clear any adjustments that may have been made previously. On the remote:
- Press Menu and go to Reset.
- Press Enter to enter Reset All, then press Enter again to open the confirmation menu.
- Select Yes and press Enter to reset. The image will flash before returning.
Step 4
Reset the zoom
- Open Menu → Settings → Zoom.
- Hold the left arrow until the slider moves all the way to the left.
- Press Menu to close the menu.
Step 5
Display the focus grid
Use the projector’s built-in grid to make it easier to judge focus:
- Open Menu → Settings → Pattern → Pattern Type.
- Select Pattern 4 and press Enter.
- Press Escape to go back, then select Pattern Display and press Enter.
Step 6
Adjust the focus
The focus control is located on the side of the projector. Open the panel and you'll find the knob near the top. Move it back and forth until the lines are as clear as possible. Press Menu to close the grid when you’re done.
Your projector is now set up. Next, connect your iPhone or iPad and follow the calibration guide to project patterns at the correct size.
Continue learning
Keep going with the next part of your setup or explore a related guide.