1
Choose your mat style
Choose your mat style. The currently supported mats have 1/2in, 1in or 1cm grid spacing
2
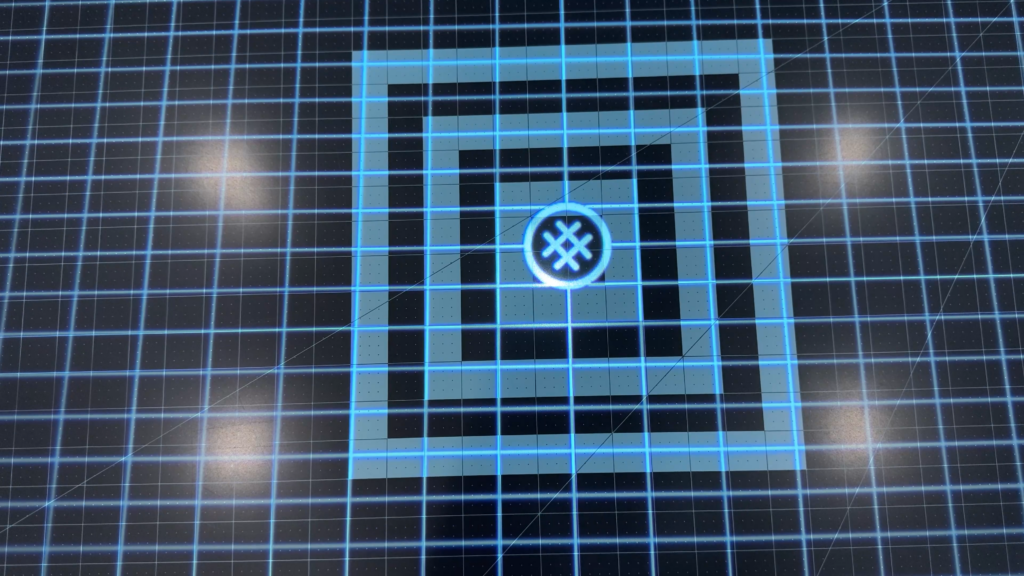
Place mat under spining icon
You want to make sure the spinning icon is near the center of the mat. This maximizes your projection area. If you find the area is too small, you can move the projector further away from the cutting mat to help increase the projection size.
3
Dim Lights
Dim your lights so that the projector image is clear. While this is not as important as it is for AI Calibration, you will want to make sure you see the lines clearly.
4
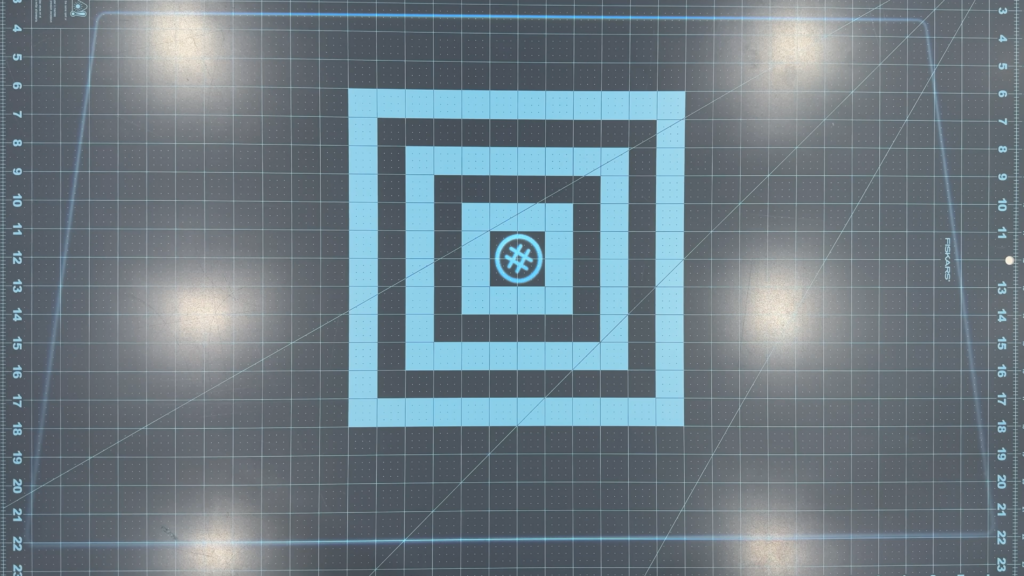
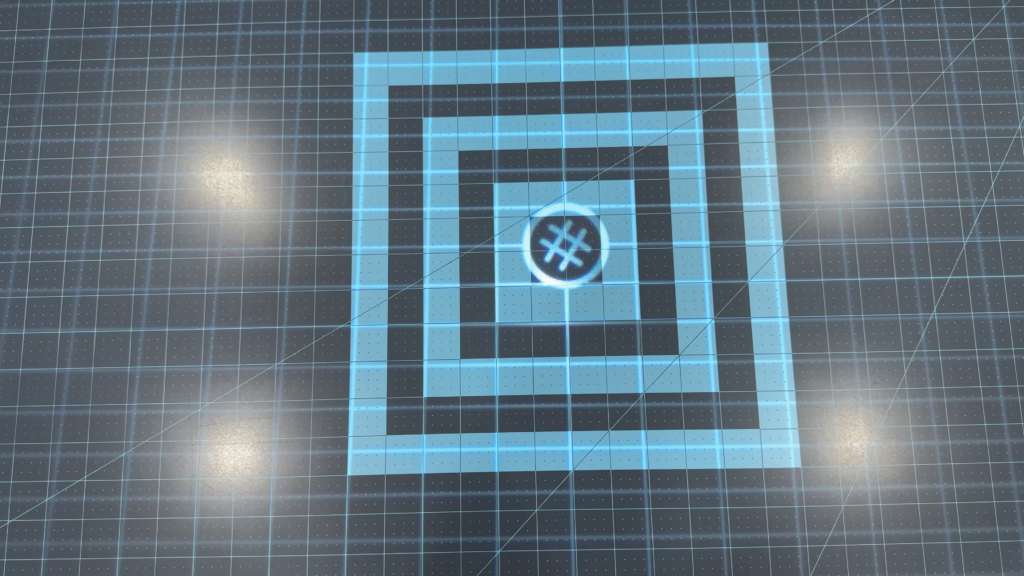
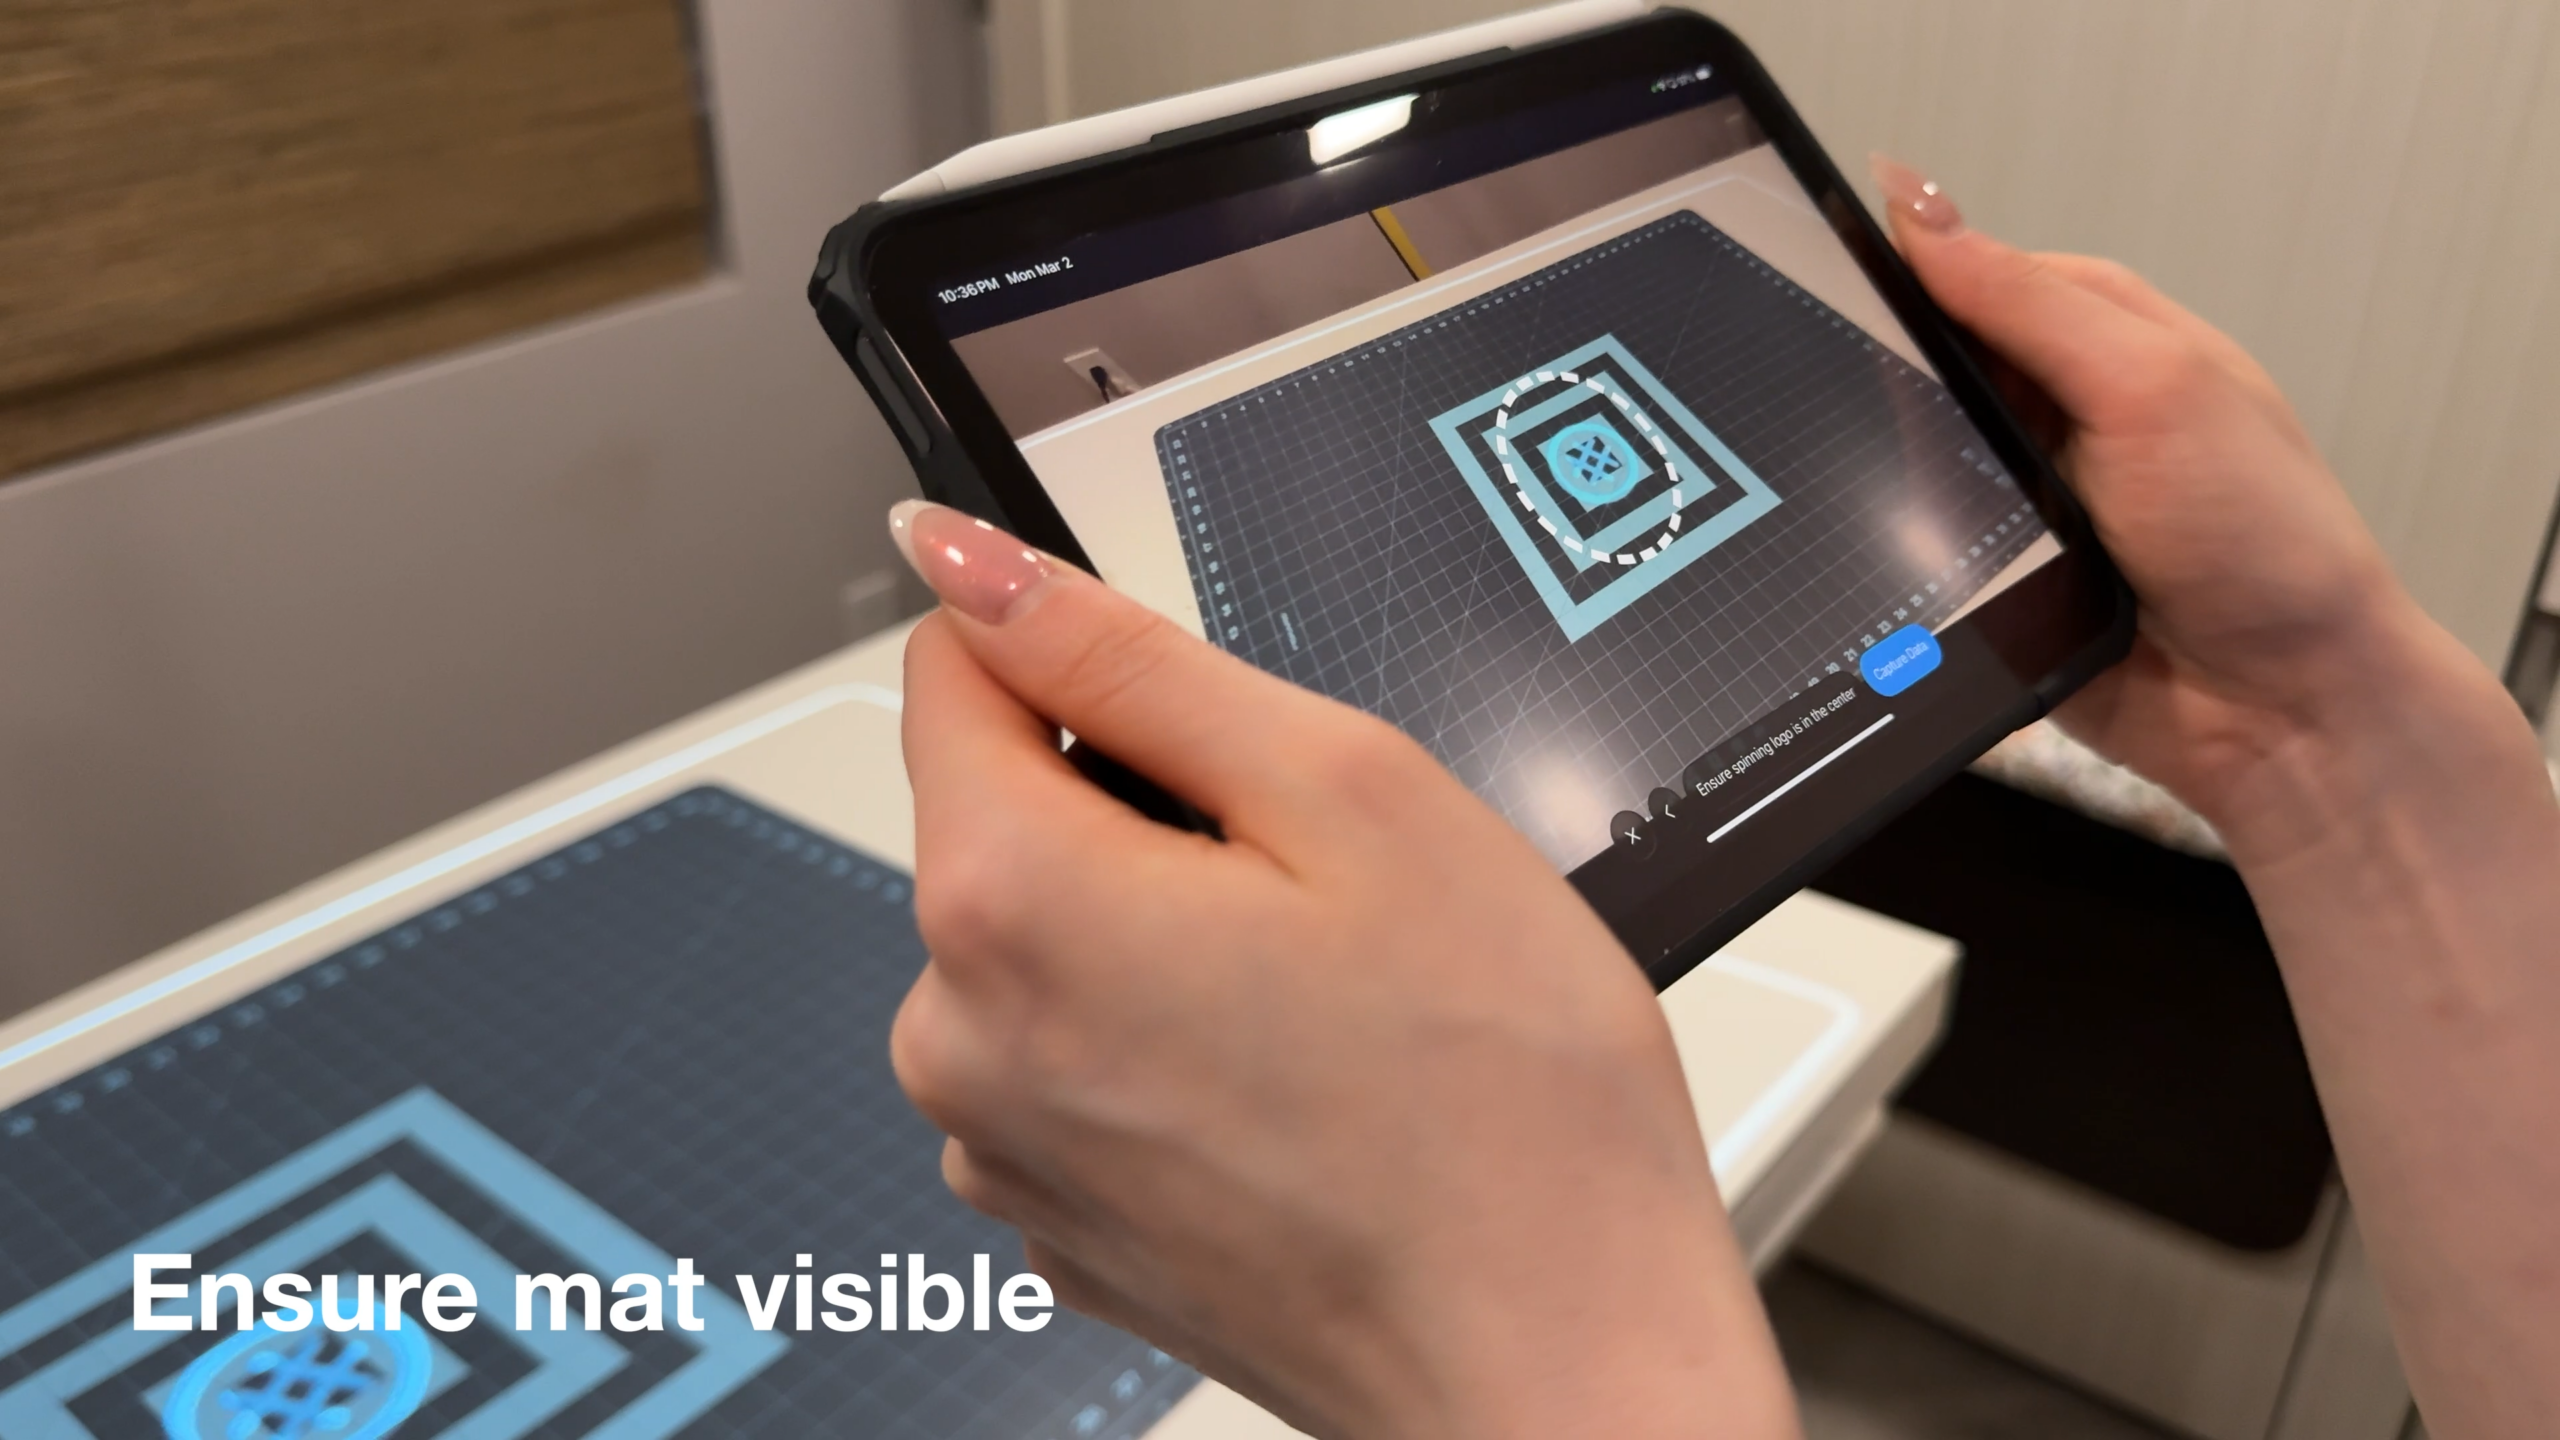
Point the camera towards the mat
Now that our environment is setup, we’re ready for calibration. Point the camera towards the the mat. Ensure the spinning circle is in inside the dotted circle and make most of the mat is visible. The larger the visible portion of the mat, the better the calibration
5
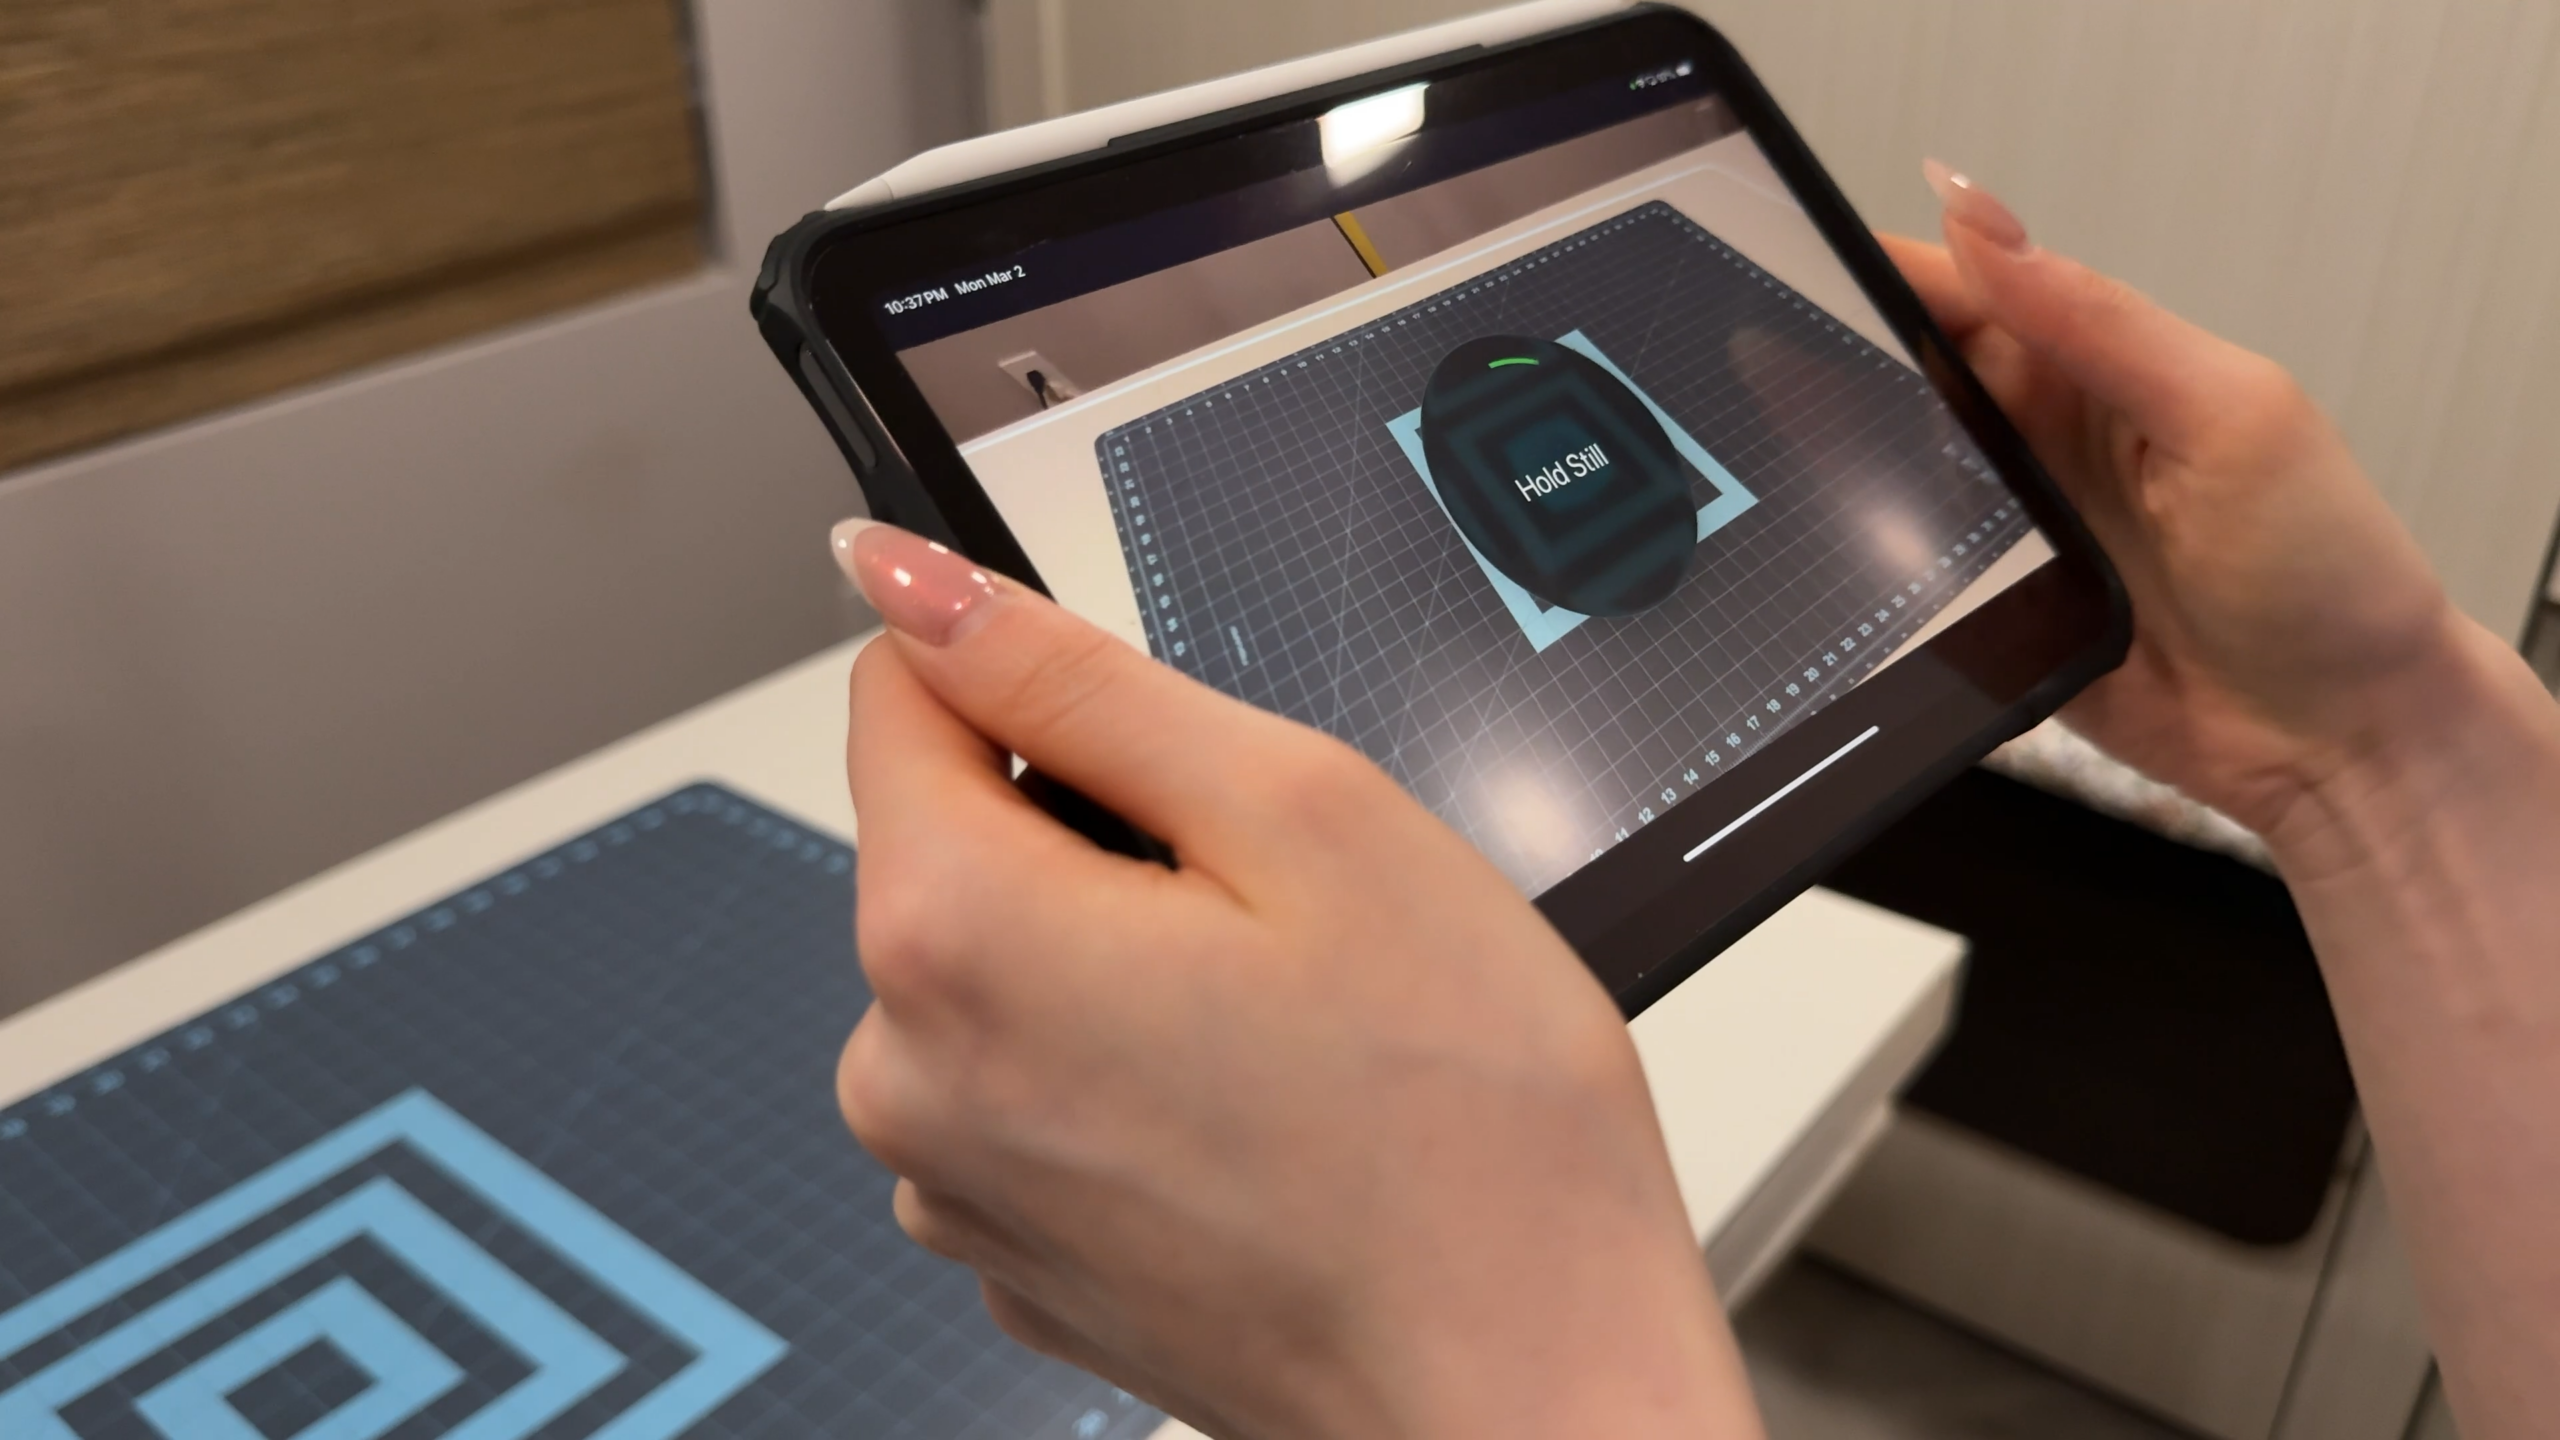
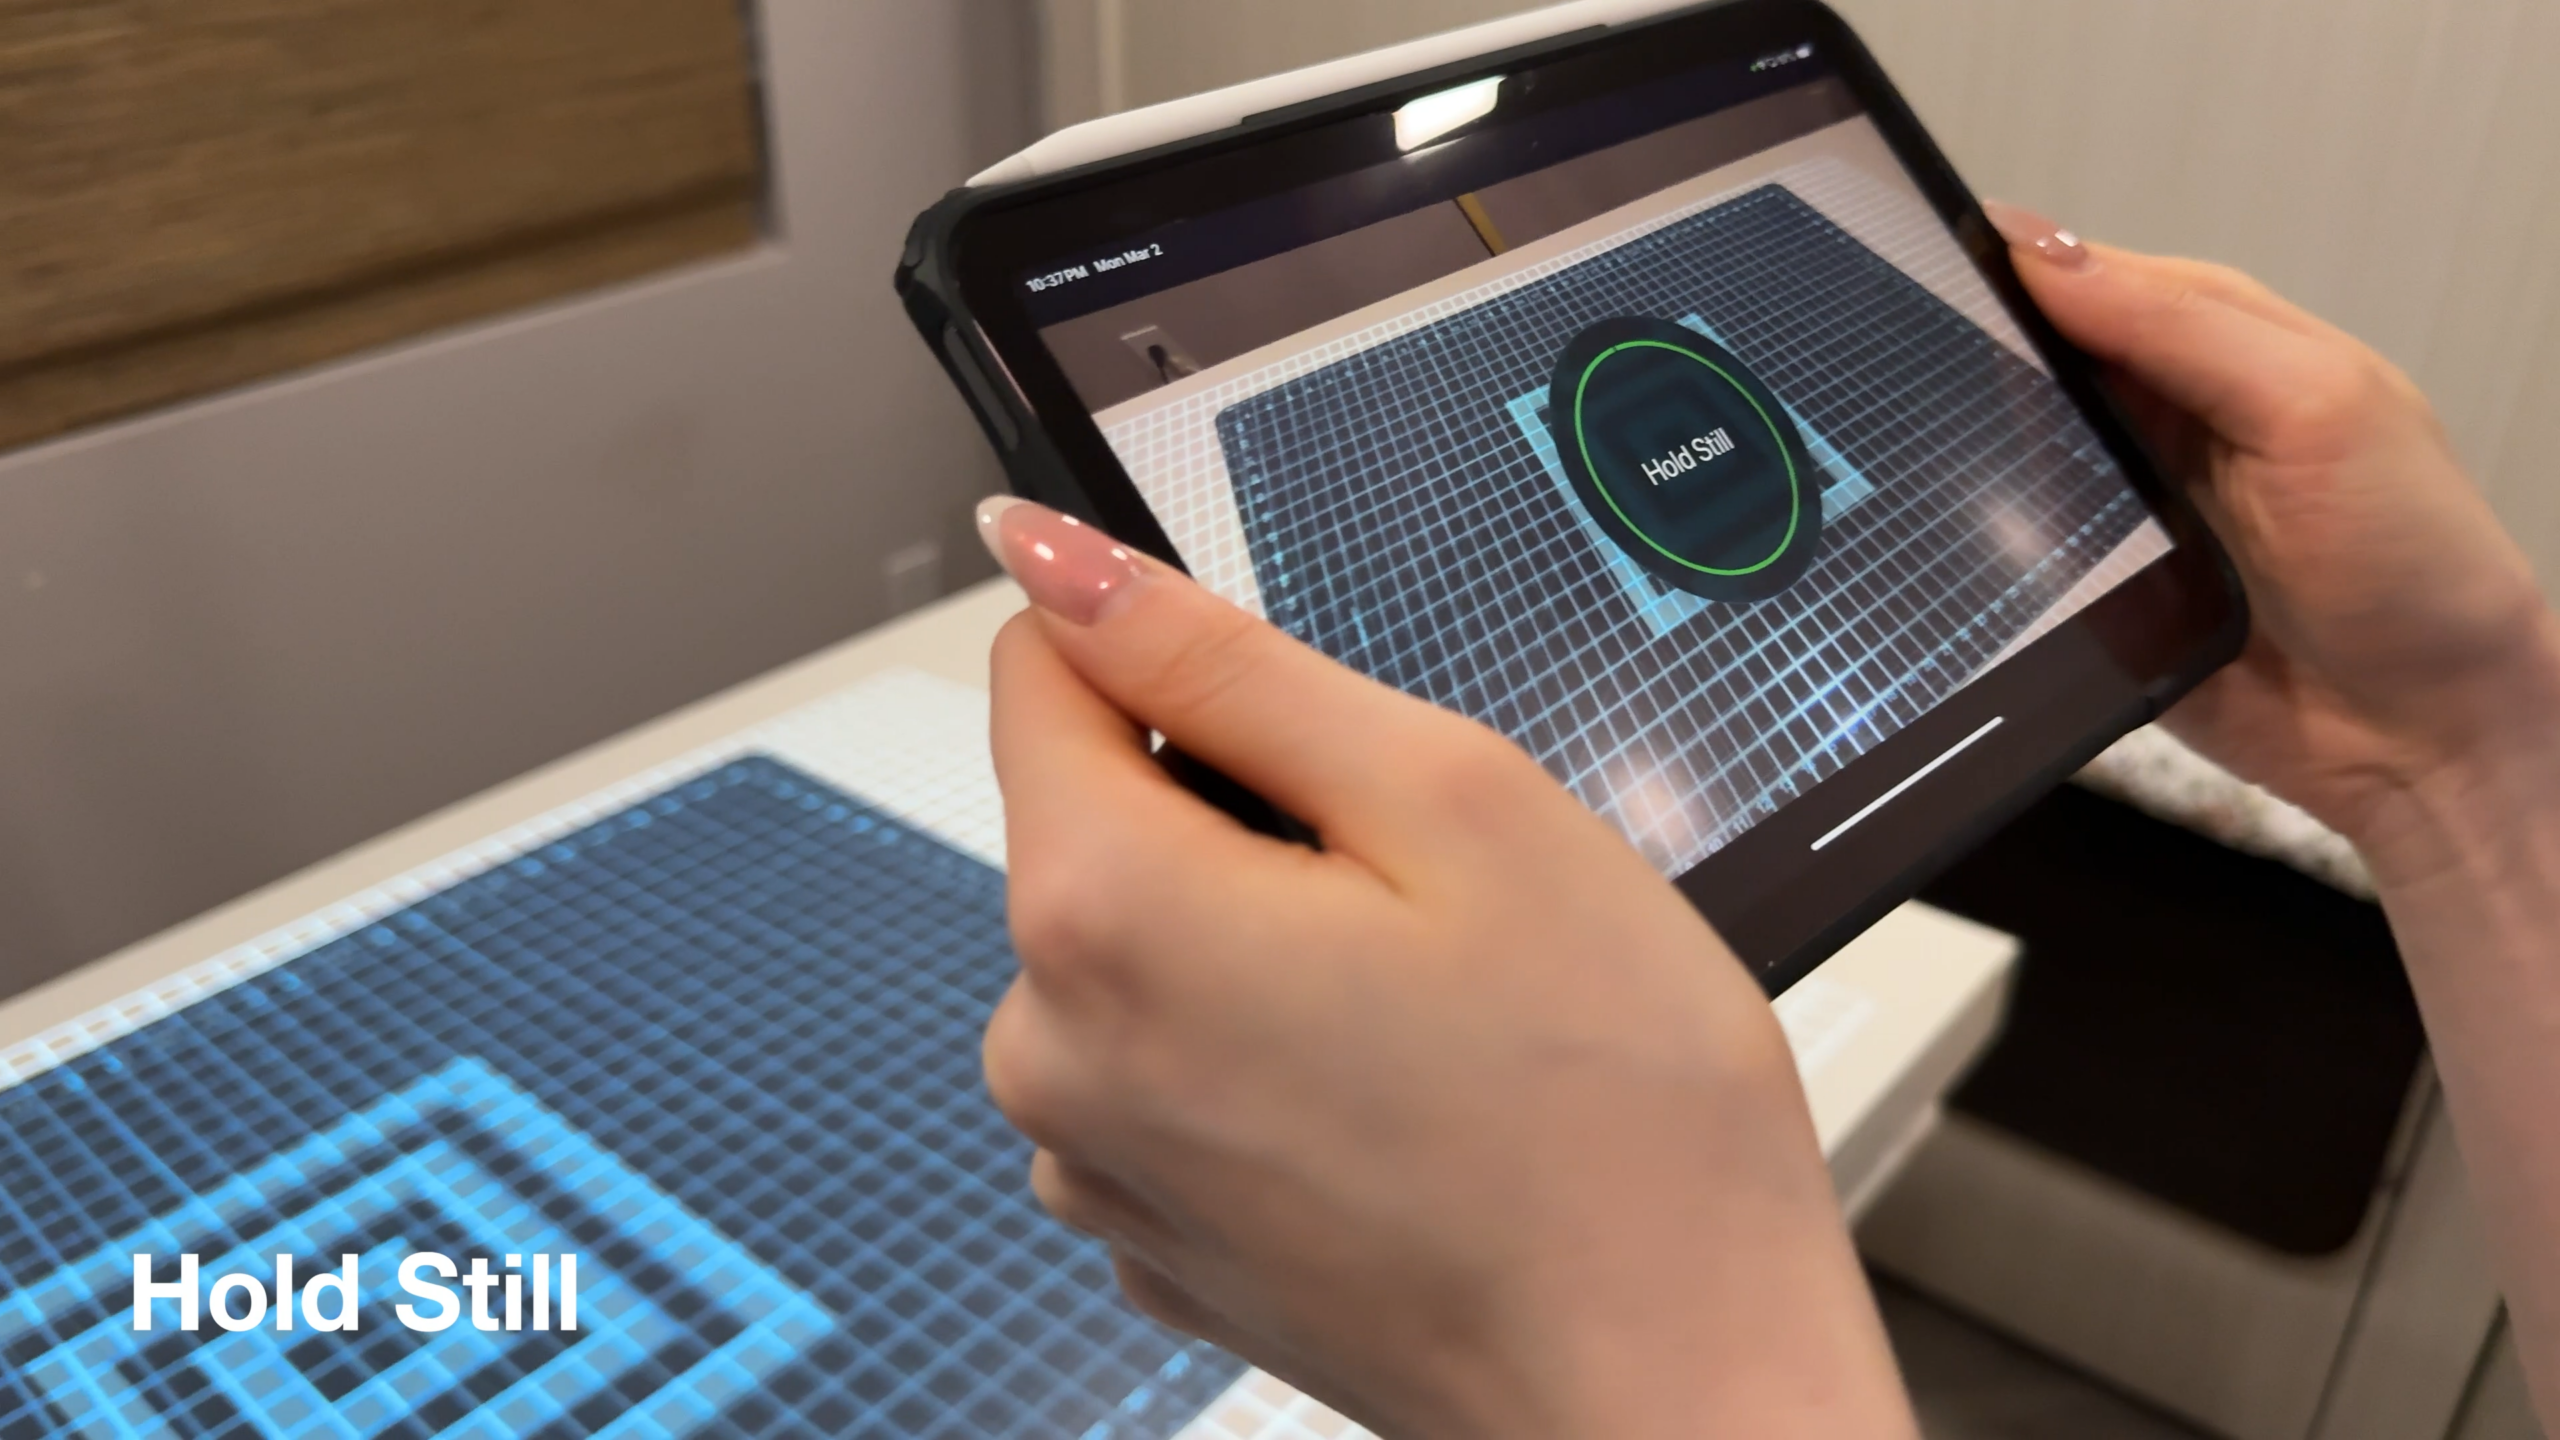
Capture data
Once in frame, hold still until the Capture Data button turns blue. Once blue, press the button and hold your device still while it says so.
6
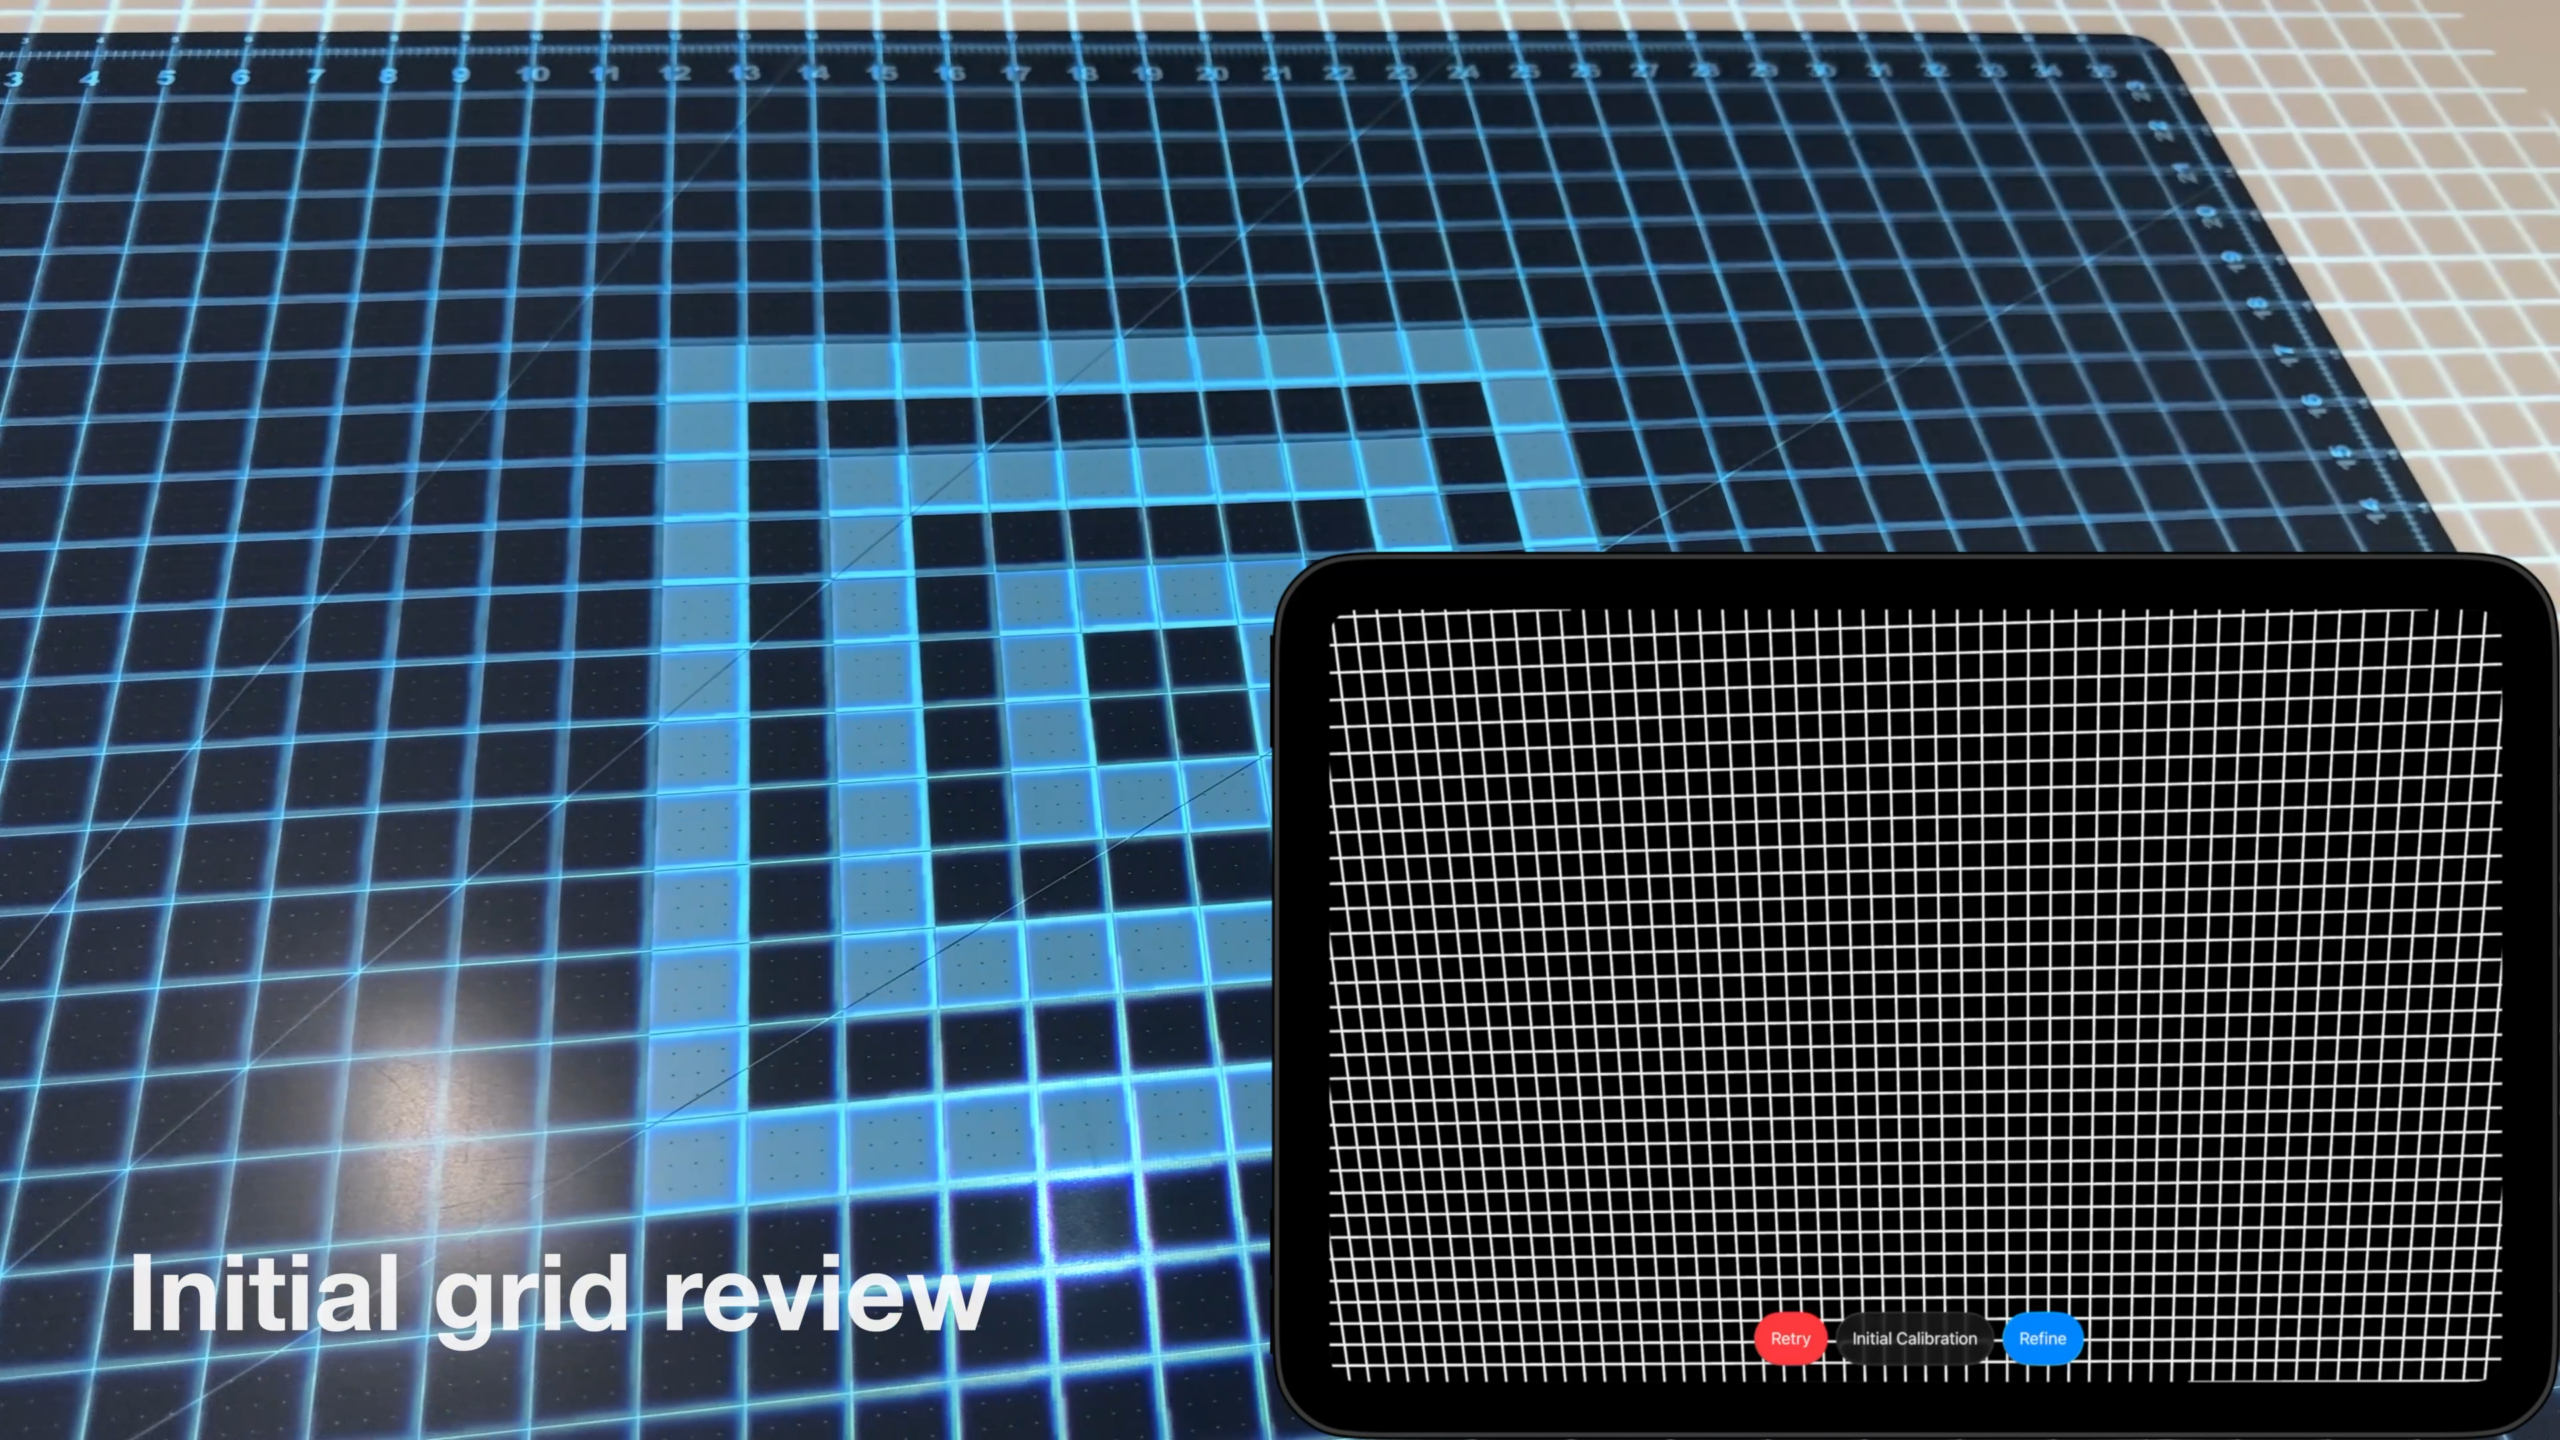
Check Initial Calibration
Once the processing is finished, you’re 95% done! An initial calibration is presented for you to review, verify that it looks correct. Small errors are fine and we will adjust for those in the next step. If the projected grid looks completely off, retry the calibration.
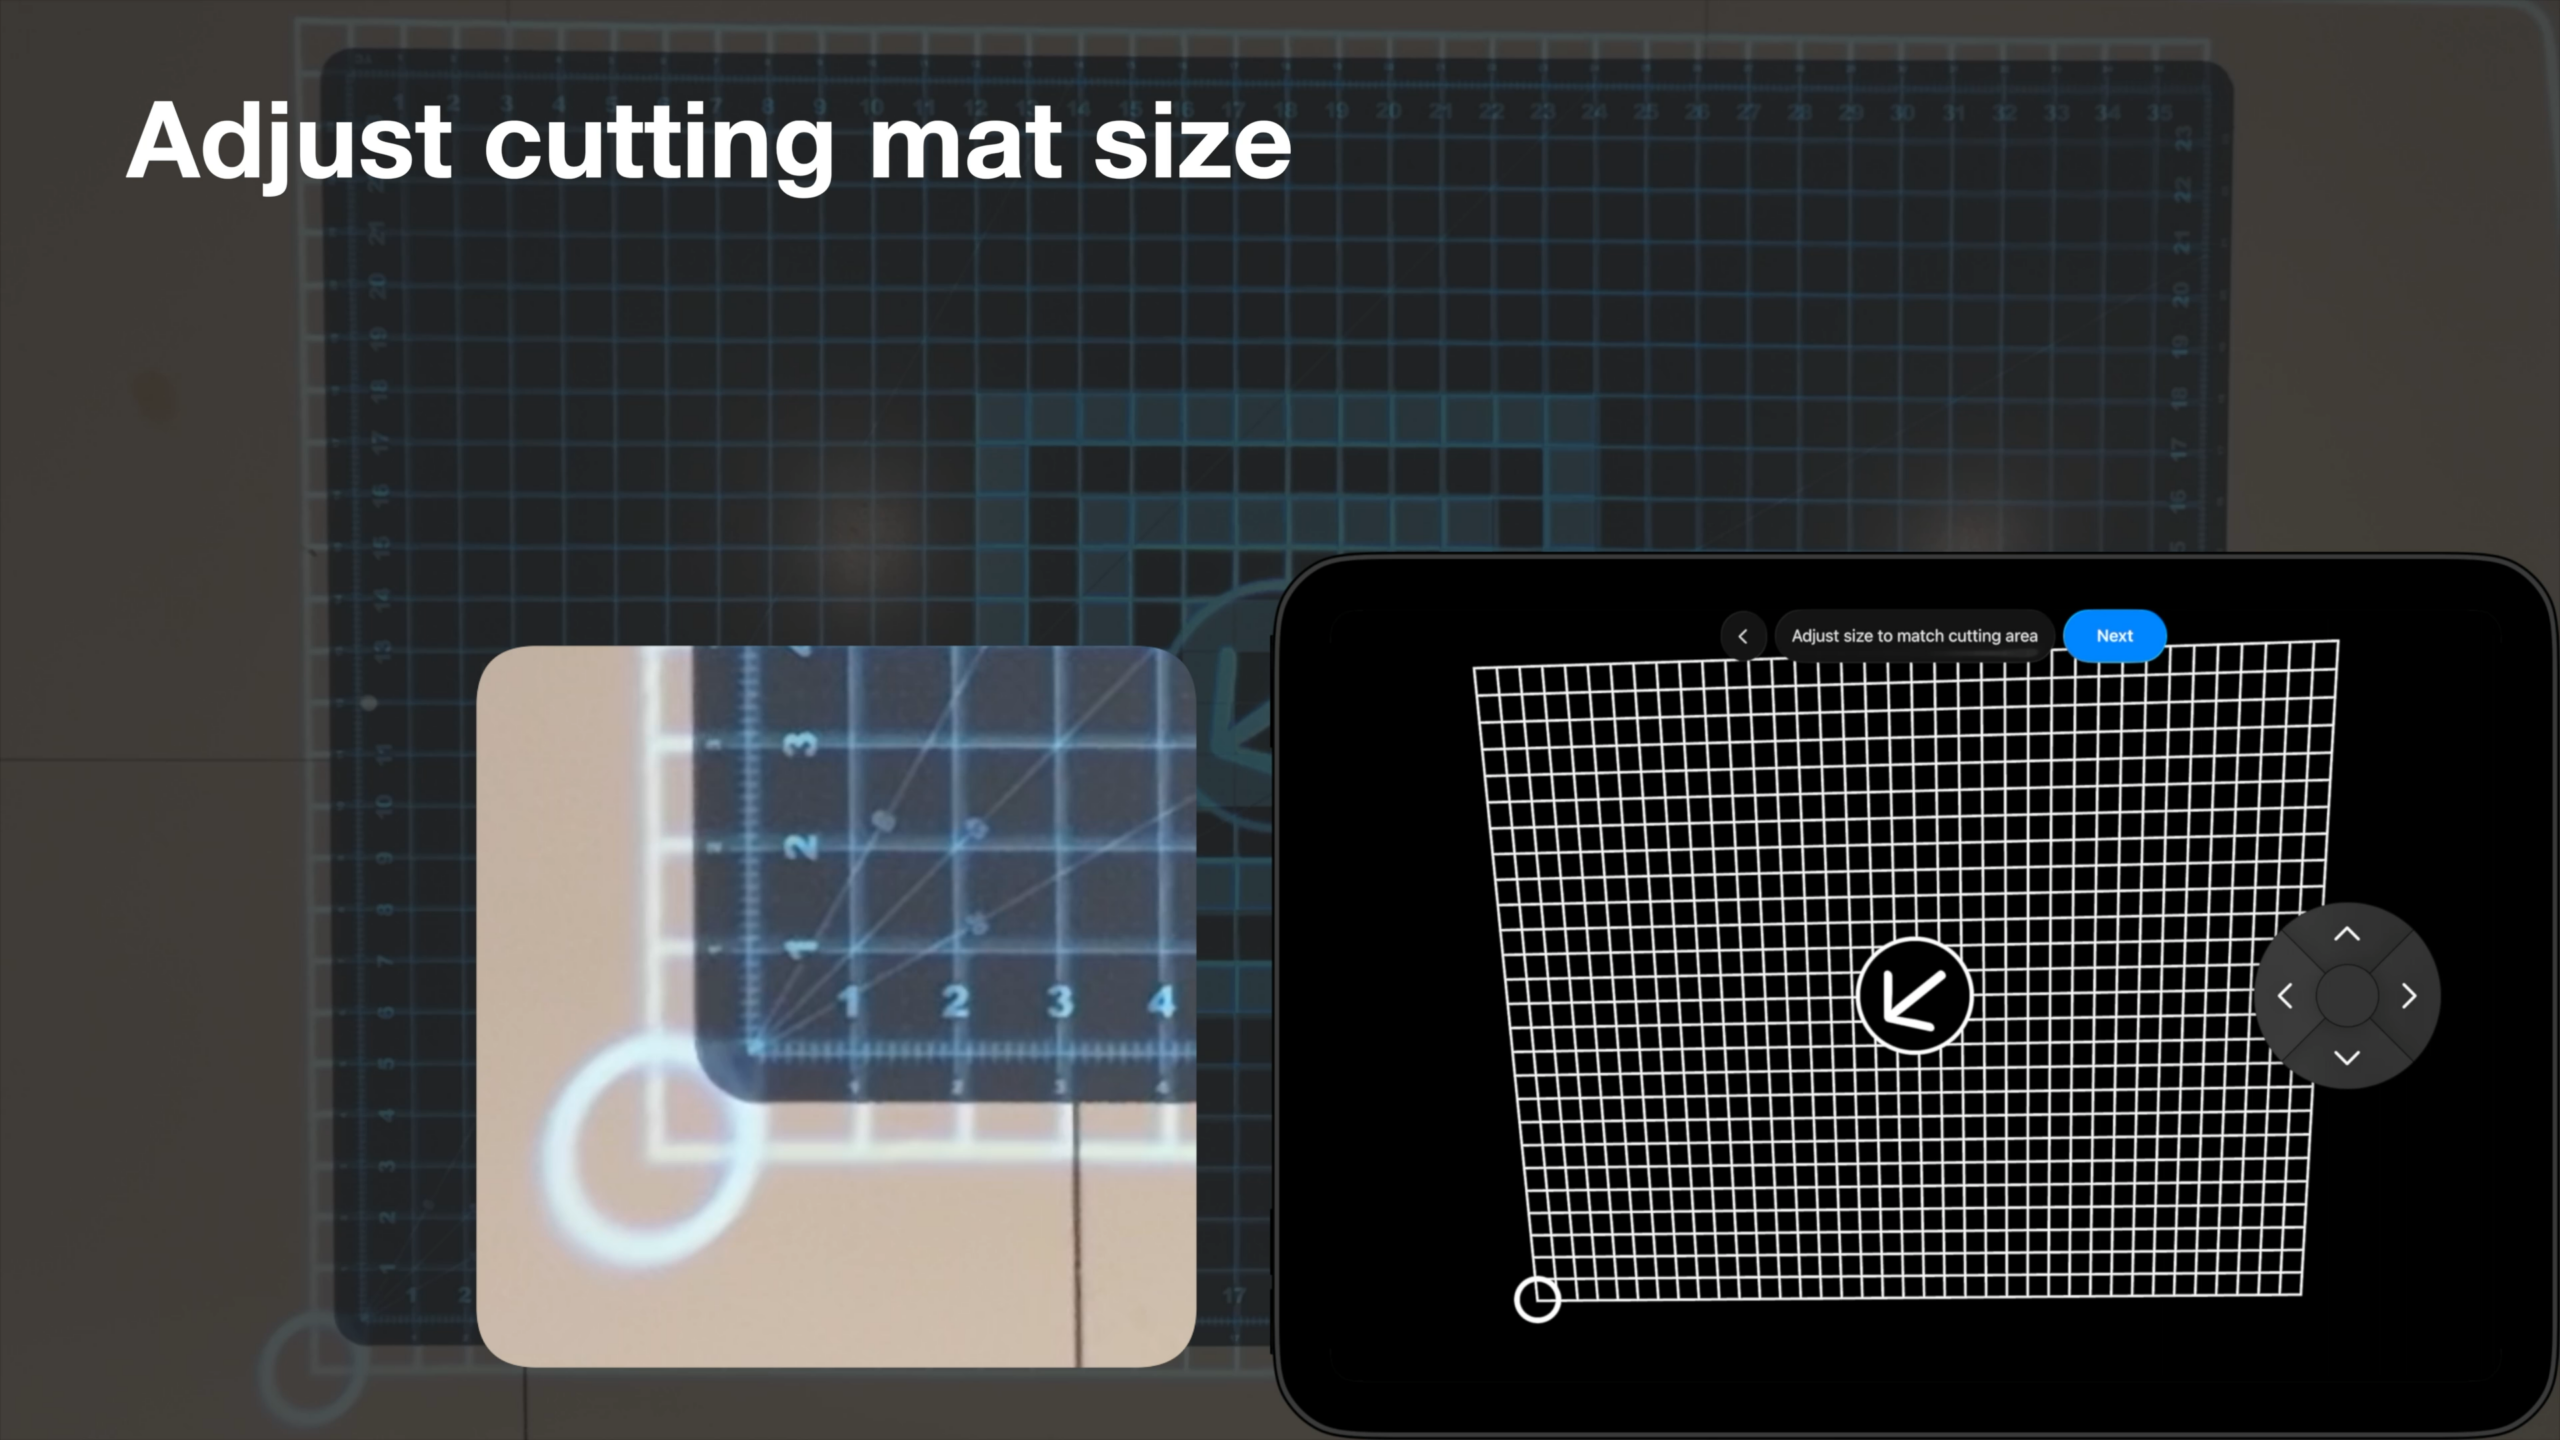
7
Adjust size to match your mat
After accepting the initial calibration, we need to define the cutting mat size. You can move the corner by using the radial move menu. If mat is larger than your projection area, just pick the largest area your projector can reach.
8
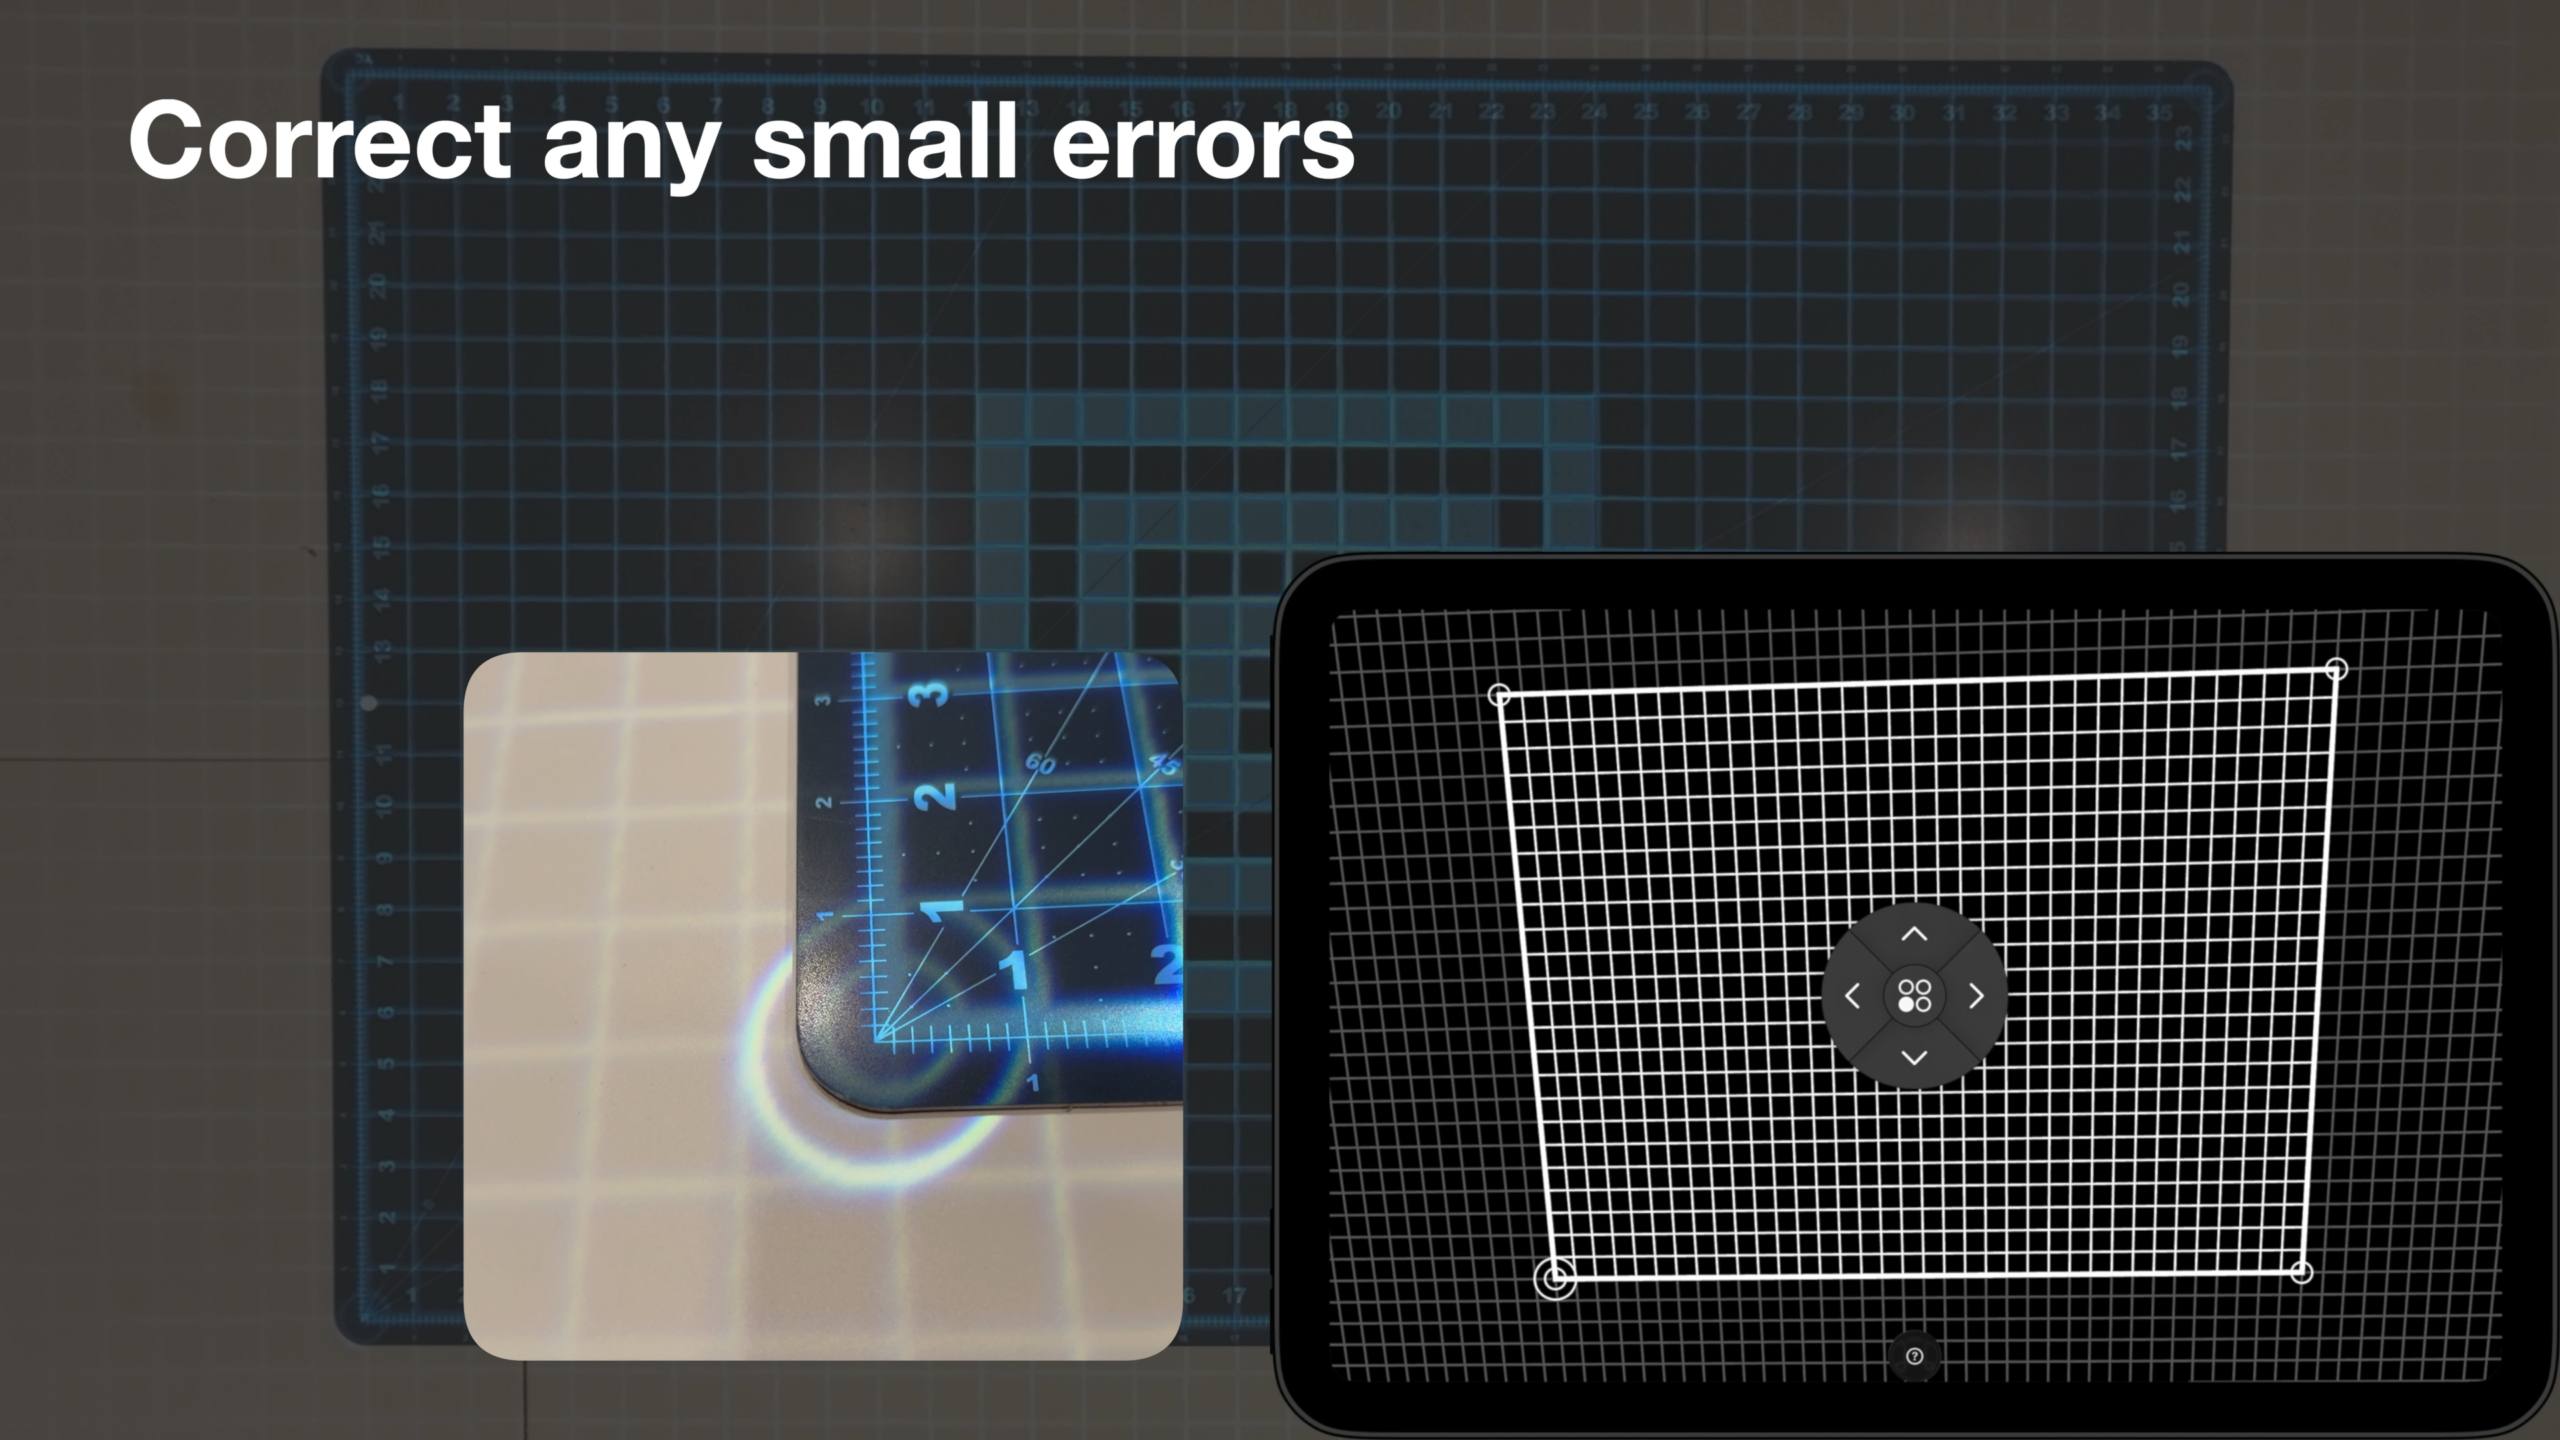
Refine Calibration
After defining the cutting mat size, it’s time to bring calibration to perfection. Select the circle on one of the corners to bring up the precise adjustment menu, then fine tune its position to the edge of your calibration area; repeat for all four corners .
Once you’re happy with the results, hold the ⏎ key to exit. You’re done!